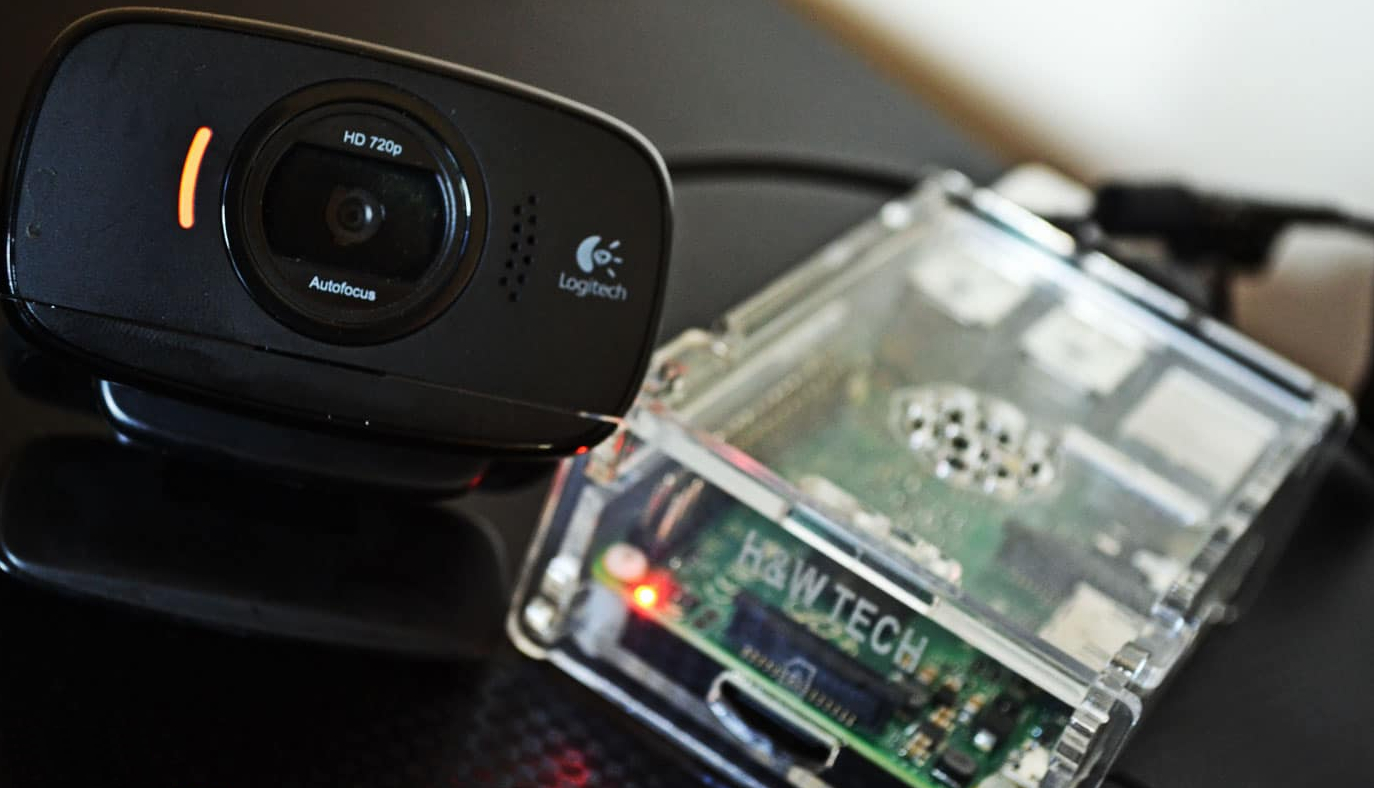
Recentemento ho scritto un paio di righe su come compilare e installare ffmpeg sulla Raspberry Pi. Quando si installa ffmpeg viene installato anche un tool fighissimo chiamato ffserver che permette di fare lo streming di contenuto audio e/o video su internet. Vediamo come:
Diventate root con sudo -s e per prima cosa create il file di configurazione:
vi /etc/ffserver.conf
Incollateci questa roba qui:
Port 8090
# bind to all IPs aliased or not
BindAddress 0.0.0.0
# max number of simultaneous clients
MaxClients 10
# max bandwidth per-client (kb/s)
MaxBandwidth 1000
# Suppress that if you want to launch ffserver as a daemon.
NoDaemon

<Feed feed1.ffm>
File /tmp/feed1.ffm
FileMaxSize 10M
</Feed>

<Stream test.mjpg>
Feed feed1.ffm
Format mpjpeg
VideoFrameRate 4
VideoSize 600x480
VideoBitRate 80
# VideoQMin 1
# VideoQMax 100
VideoIntraOnly
NoAudio
Strict -1
</Stream>
Crete un file di lancio di ffserver:
vi /usr/sbin/webcam.sh
Dentro metteteci questo:
ffserver -f /etc/ffserver.conf & ffmpeg -v verbose -r 5 -s 600x480 -f video4linux2 -i /dev/video0 http://localhost:8090/feed1.ffm
Rendete eseguibile il file:
chmod +x /usr/sbin/webcam.sh
Ed ora:
/usr/sbin/webcam.sh
Per vedere il risultato basta andare su:
http://<ip-address:8090>/test.mjpg
Per fermare il programma potete farlo con pkill ffserver
Esecuzione automatica
Per far partire il programma automaticamente, potete sfruttare il file /etc/rc.local. Aprite il file e metteteci dentro /usr/sbin/webcam.sh. Ricordatevi che il comando exit 0 deve sempre essere presente alla fine del file.
